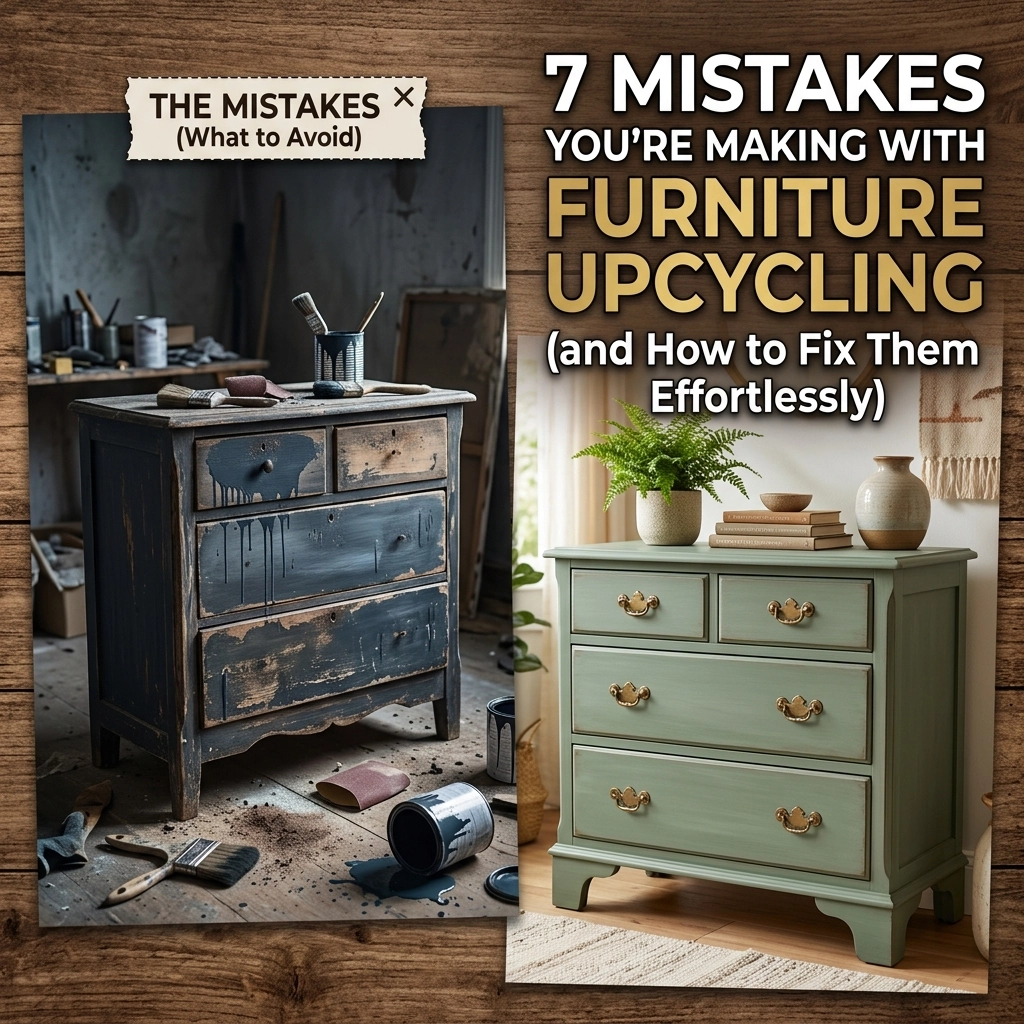
We’ve all been there. You see a gorgeous dresser at a garage sale for twenty bucks, and your brain immediately starts Pinterest-ing. You imagine it in a stunning shade of sage green, sitting perfectly in your entryway. You bring it home, buy the paint, and dive in. But three days later, the paint is peeling, the drawers are sticking, and you’re covered in more sawdust than you are in satisfaction.
Upcycling furniture is one of the most rewarding ways to live an intentional, budget-friendly life, but it isn’t always the breezy, time-lapse video experience we see on social media. It’s sweaty. It’s messy. Sometimes, it’s downright frustrating.
At It’s An Amazing Life, I believe that a beautiful home shouldn’t cost a fortune, but it does require a bit of “sweat equity” and a solid system. If you want high-end results on a thrift-store budget, you have to avoid the pitfalls that turn a weekend project into a permanent eyesore.
Here are the seven most common mistakes I see (and have made myself!) and exactly how you can fix them to ensure your furniture makeovers actually stand the test of time.
1. Choosing the Wrong Piece to Start With
The first mistake happens before you even pick up a sandpaper block. We often get blinded by a low price tag or a unique shape and ignore the “bones” of the piece. If the structure is rotted, the wood is heavily warped, or it’s made of cheap, thin particle board that’s already crumbling, no amount of paint will save it.
The Fix: Prioritize function over aesthetic. Look for solid wood. Check the joints: are they dovetail? Do the drawers slide, or are they swollen shut? A little bit of wobbliness is fixable; structural disintegration is not. Start with pieces that have good “bones” even if the finish is ugly. It’s about building a life that works, and that starts with furniture that stays together.

2. Skipping the Deep Clean
I know, you want to get to the “fun part.” But painting over decades of furniture polish, dust, and finger oils is a recipe for disaster. Paint won’t stick to grease. If you skip the cleaning phase, your beautiful finish will start chipping off in sheets within a month.
The Fix: Use a dedicated cleaner like TSP (Trisodium Phosphate) or a simple 50/50 mix of white vinegar and water. Scrub every nook and cranny. You’d be surprised at the brown gunk that comes off a piece that looks “clean” to the naked eye. This is the un-glamorous reality of DIY, but it’s the difference between a professional look and a hobbyist mess.
3. The “No-Sand” Myth
Marketing has done a number on us, promising that certain paints require “zero prep.” While some high-quality chalk paints are amazing, they still need a surface they can grab onto. If you’re working with a high-gloss factory finish, the paint has nothing to bite.
The Fix: You don’t always need to strip the piece down to the raw wood, but you do need to “scuff sand.” Use a 120-grit or 150-grit sandpaper and just take the shine off. You aren’t trying to remove the color; you’re just creating “tooth” for the paint. It takes ten minutes, but it adds years to the life of the project. Efficiency is about doing it right the first time so you don’t have to redo it later.
4. Using the Wrong Type of Paint
I see this all the time: someone uses leftover wall paint on a coffee table. Wall paint is designed to sit on a vertical surface and stay there. It is not designed for the friction of a coffee cup or the weight of a book. It will stay “tacky” forever, and eventually, anything you set on it will peel the paint right off.
The Fix: Use paint formulated for furniture. Look for mineral paint, milk paint, or a high-quality alkyd enamel. These dry harder and are more durable. If you’re working on a budget, check the “oops” paint section at the hardware store for cabinet-grade paints. For a great example of how the right finish makes a difference, check out my bookshelf makeover guide.
5. Ignoring Bleed-Through
You’ve cleaned, you’ve sanded, and you’ve applied your first coat of beautiful white paint. Suddenly, pink or brown splotches start appearing through the paint. This is “bleed-through,” caused by tannins in the wood (common in mahogany, cherry, and oak) or old oil-based stains reacting with your new water-based paint.
The Fix: Stop painting immediately. If you keep adding layers of paint, the stain will just keep traveling up. You need a primer that blocks stains. A shellac-based primer (like Zinsser BIN) is the gold standard here. It smells a bit strong and dries fast, but it creates a seal that nothing can get through. One or two coats of this, and your white will stay white.

6. Buying Cheap Brushes and Rollers
A ten-dollar can of paint can look like a hundred-dollar finish if you use the right tools. Conversely, an expensive designer paint will look terrible if you use a crusty, cheap brush that leaves bristles behind in your finish.
The Fix: Invest in one or two high-quality synthetic brushes (like a Wooster or a Cling On). They hold more paint and lay it down smoother, which means fewer brush strokes. If you prefer a roller, use a high-density foam roller to avoid that “orange peel” texture. Wash them well, and they will last you for years of DIY projects. Less is more: buy fewer tools, but buy better ones.
7. Forgetting the Protective Top Coat
The project looks finished. You’re tired, your back hurts, and you just want to put the hardware back on and call it a day. But if this piece is going to be used: especially in a high-traffic area like a kitchen or a mudroom: you cannot skip the sealer.
The Fix: Choose a top coat that fits your lifestyle.
- Wax: Gives a beautiful, buttery matte finish but requires re-application every year or so.
- Polycrylic: A water-based sealer that is easy to apply and won’t yellow over time. Great for lighter colors.
- Polyurethane: Very durable but can have a slight amber tint. Best for dark woods or heavy-duty surfaces.
Apply at least three thin coats, sanding lightly with a very fine grit (320 or 400) between coats. This ensures the surface is smooth to the touch and ready for real-life use.
The Lesson in the Mess
Every time I take on a new project, whether it’s a cat litter box hideaway or a full dining set, I’m reminded that the “amazing” part of life isn’t just the final reveal. It’s the intentionality we bring to the process.
When we slow down, follow a system, and respect the materials we are working with, we aren’t just fixing a chair. We are practicing a form of simple living that rejects the “throwaway culture” of today. We are choosing to see the value in what others have discarded.
Don’t let the fear of making a mistake keep you from starting. Mistakes are just data points on your way to becoming an expert. The heat, the mess, and the occasional “oops” are all part of the journey.
I’d love to hear about your latest project! Have you ever run into the dreaded “bleed-through”? What’s one trick you’ve learned that made your DIY life easier? Drop a comment below and let’s keep the conversation going. We’re all in this intentional living journey together!
Save this post for your next thrift store haul, and remember: an amazing life is built one purposeful project at a time.